SHAART Acoustic Tools
Main web page: http://hedges.belmont.edu/~shawley/SHAART
GitHub page: http://github.com/drscotthawley/SHAART
SHAART Acoustic Tools, v 0.81
(March 28, 2025)

(yes, the name is a joke)
About
Features
Downloads
License
Tutorials
Screenshots
Running From Source
Building an Executable
FAQ
Release Notes
About
This lightweight audio analysis suite was initially written for educational purposes only over a period of 4 days. (And then improved in bits.) It's amazing how much you can accomplish with minimal knowledge of Python programming!
The name "SHAART" uses the author's initials (S.H.) in homage to the famous "SMAART" set of acoustics analysis tools by Rational Acoustics, Inc. ...That and "SHAART" is just hilarious to say, for other reasons. (Note: "homage" = parody, derivative work = fair use = please don't sue.)
Features
Most of these features are illustrated in the Screenshots section further down this page.
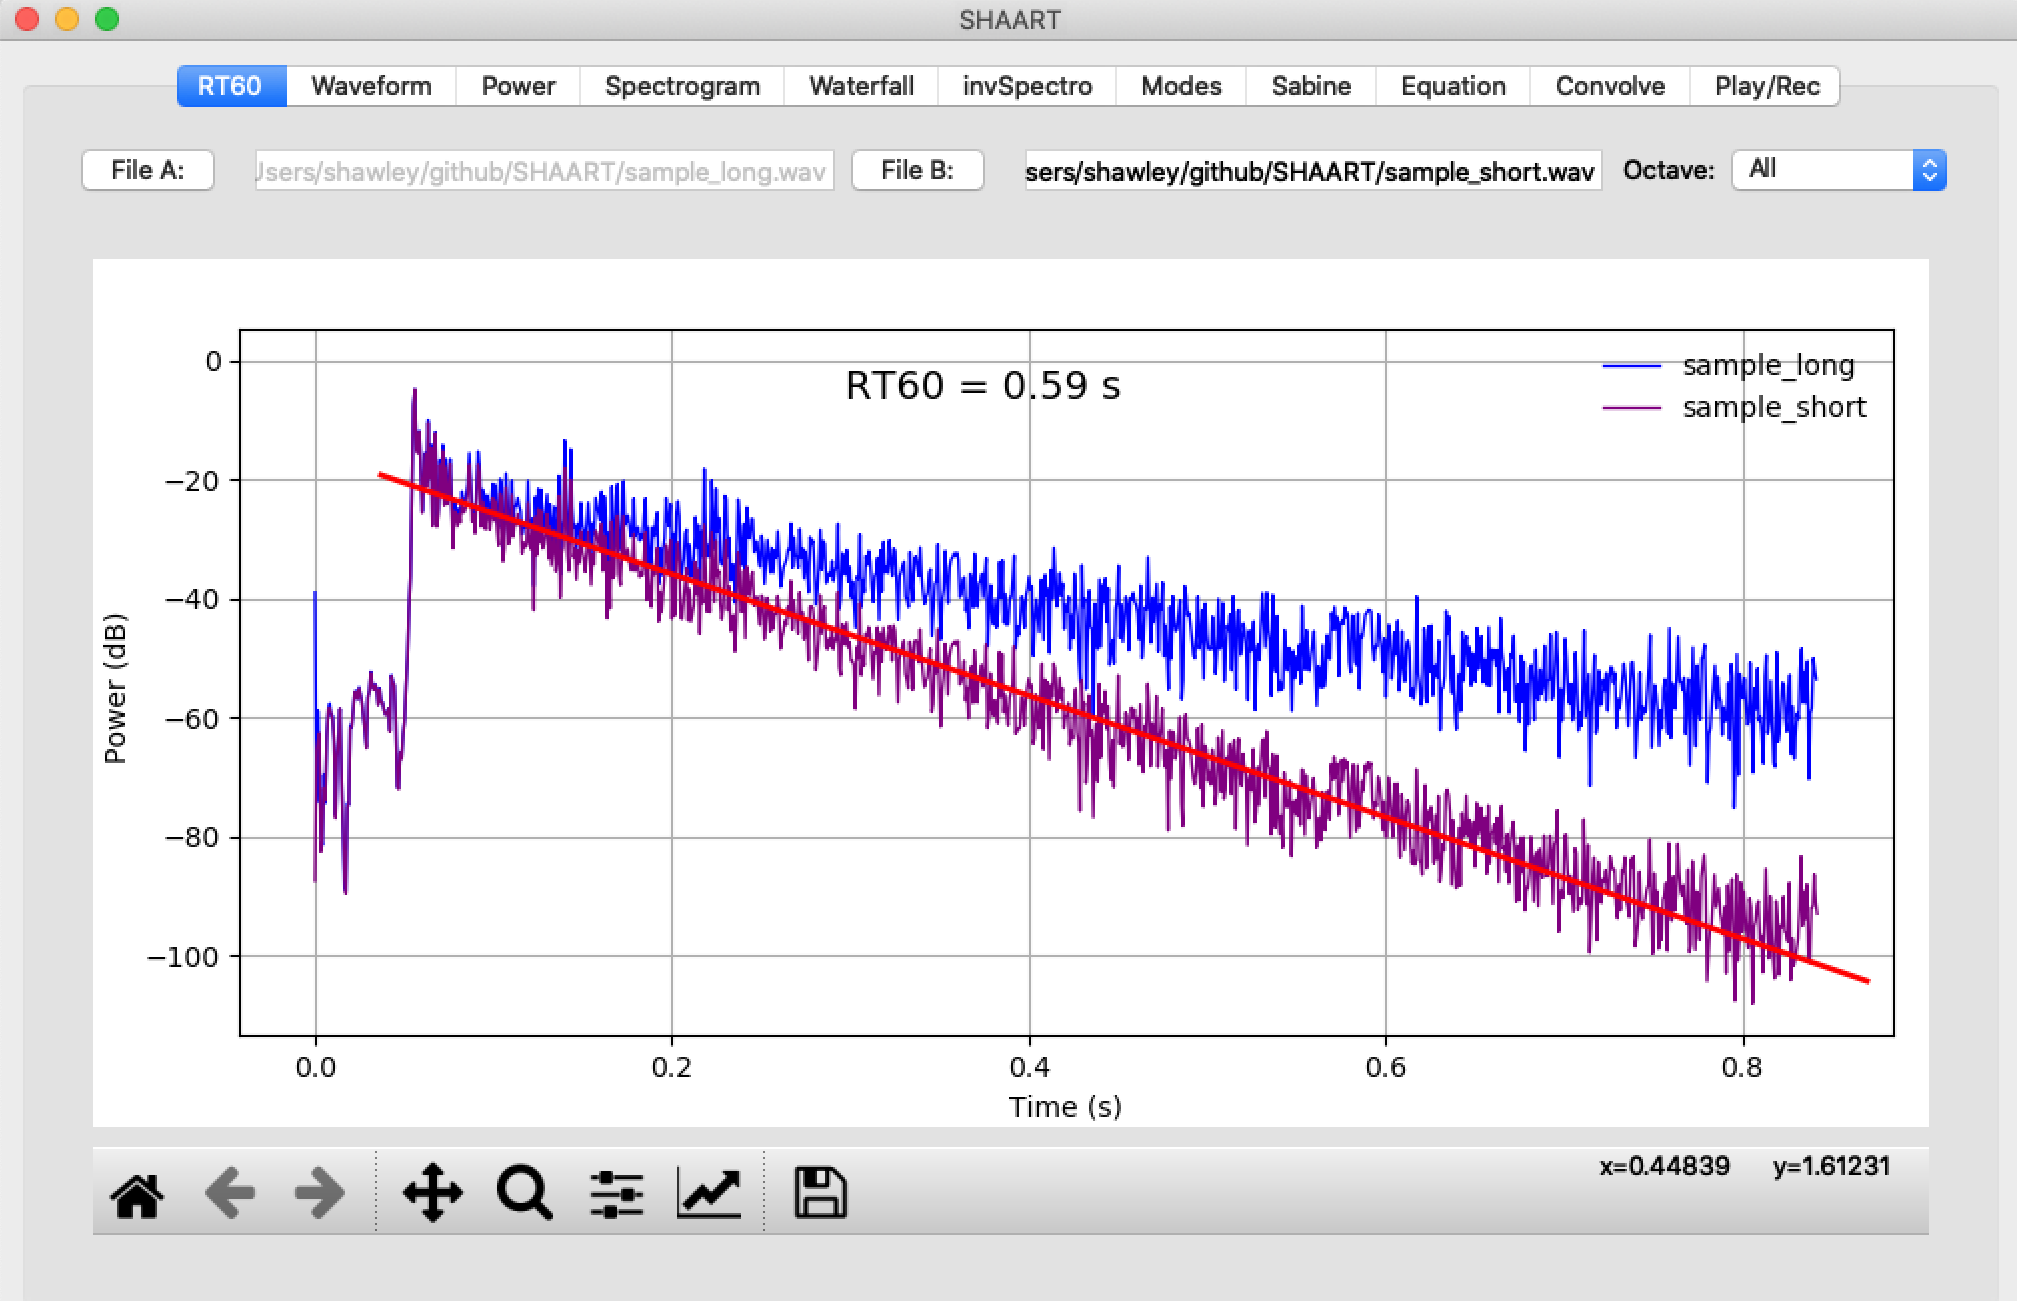
- Reverberation Time (RT60) Measurement: The reason SHAART was written in the first place. Load an audio file, filter in different octave bands, draw a "best fit" line on the graph by hand, read off the reverb time. (Designed to mimic functionality of SMAART Acoustics Tools(tm).) Can show two files ("File A" and "File B") at once. See "Tutorials" below for a demo.
- Waveform Display: Linear scale only. Displays two waveforms ("File A" and "File B") at once.
- Power Spectrum: Pretty standard display Doesn't do a log scale yet, though I'd like to add that. Displays two spectra ("File A" and "File B" at once.)
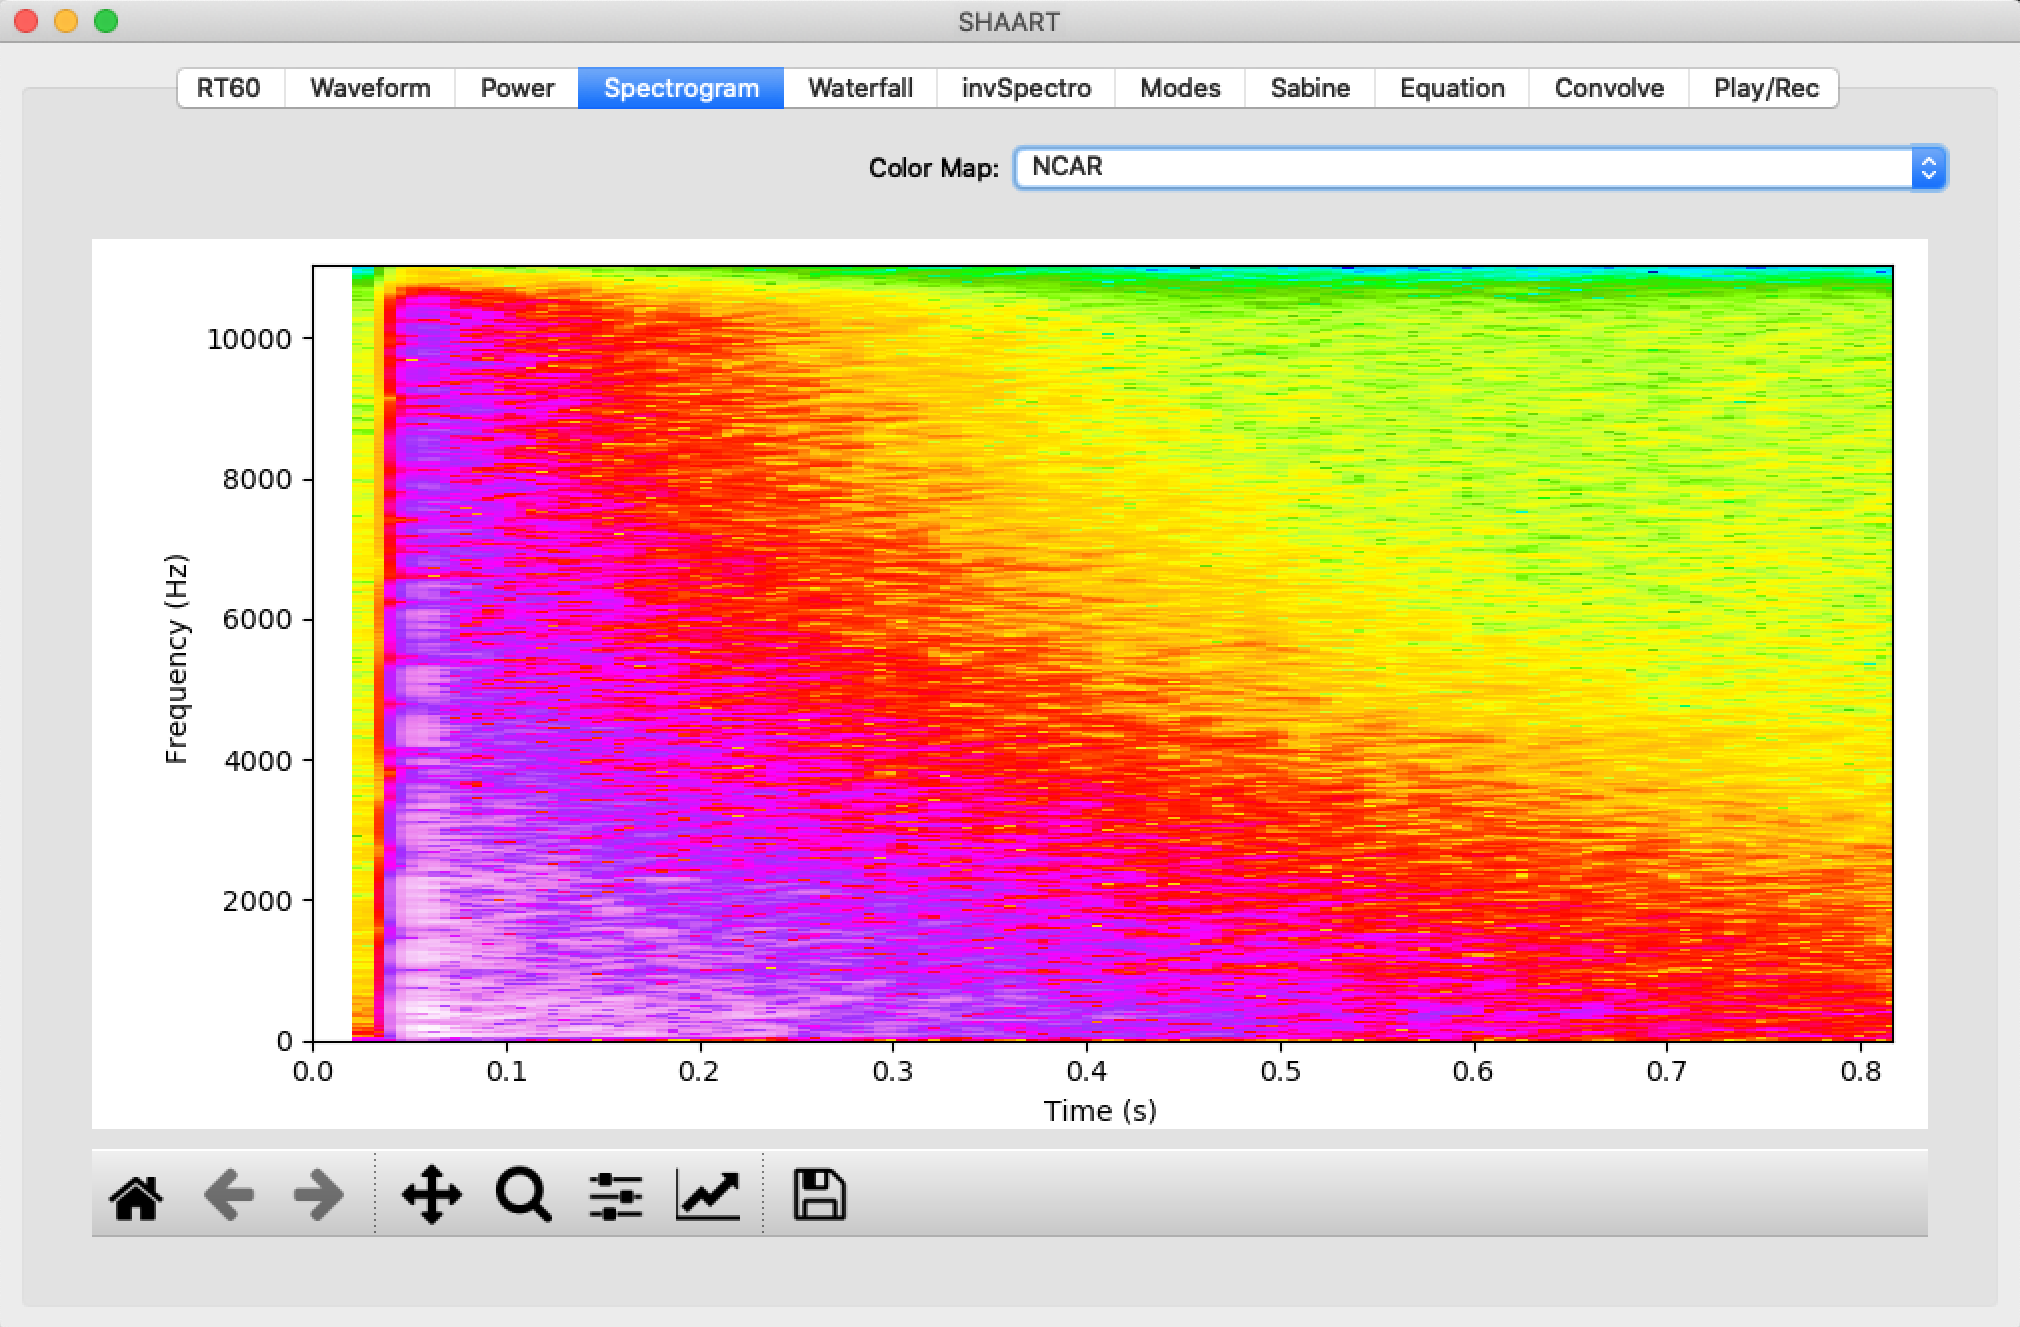
- Spectrogram: Shows magnitude as color, vs frequency and time. as with Power Spectrum. Offers a few colormaps. No log freq scale yet. Only one file ("File A") shown.
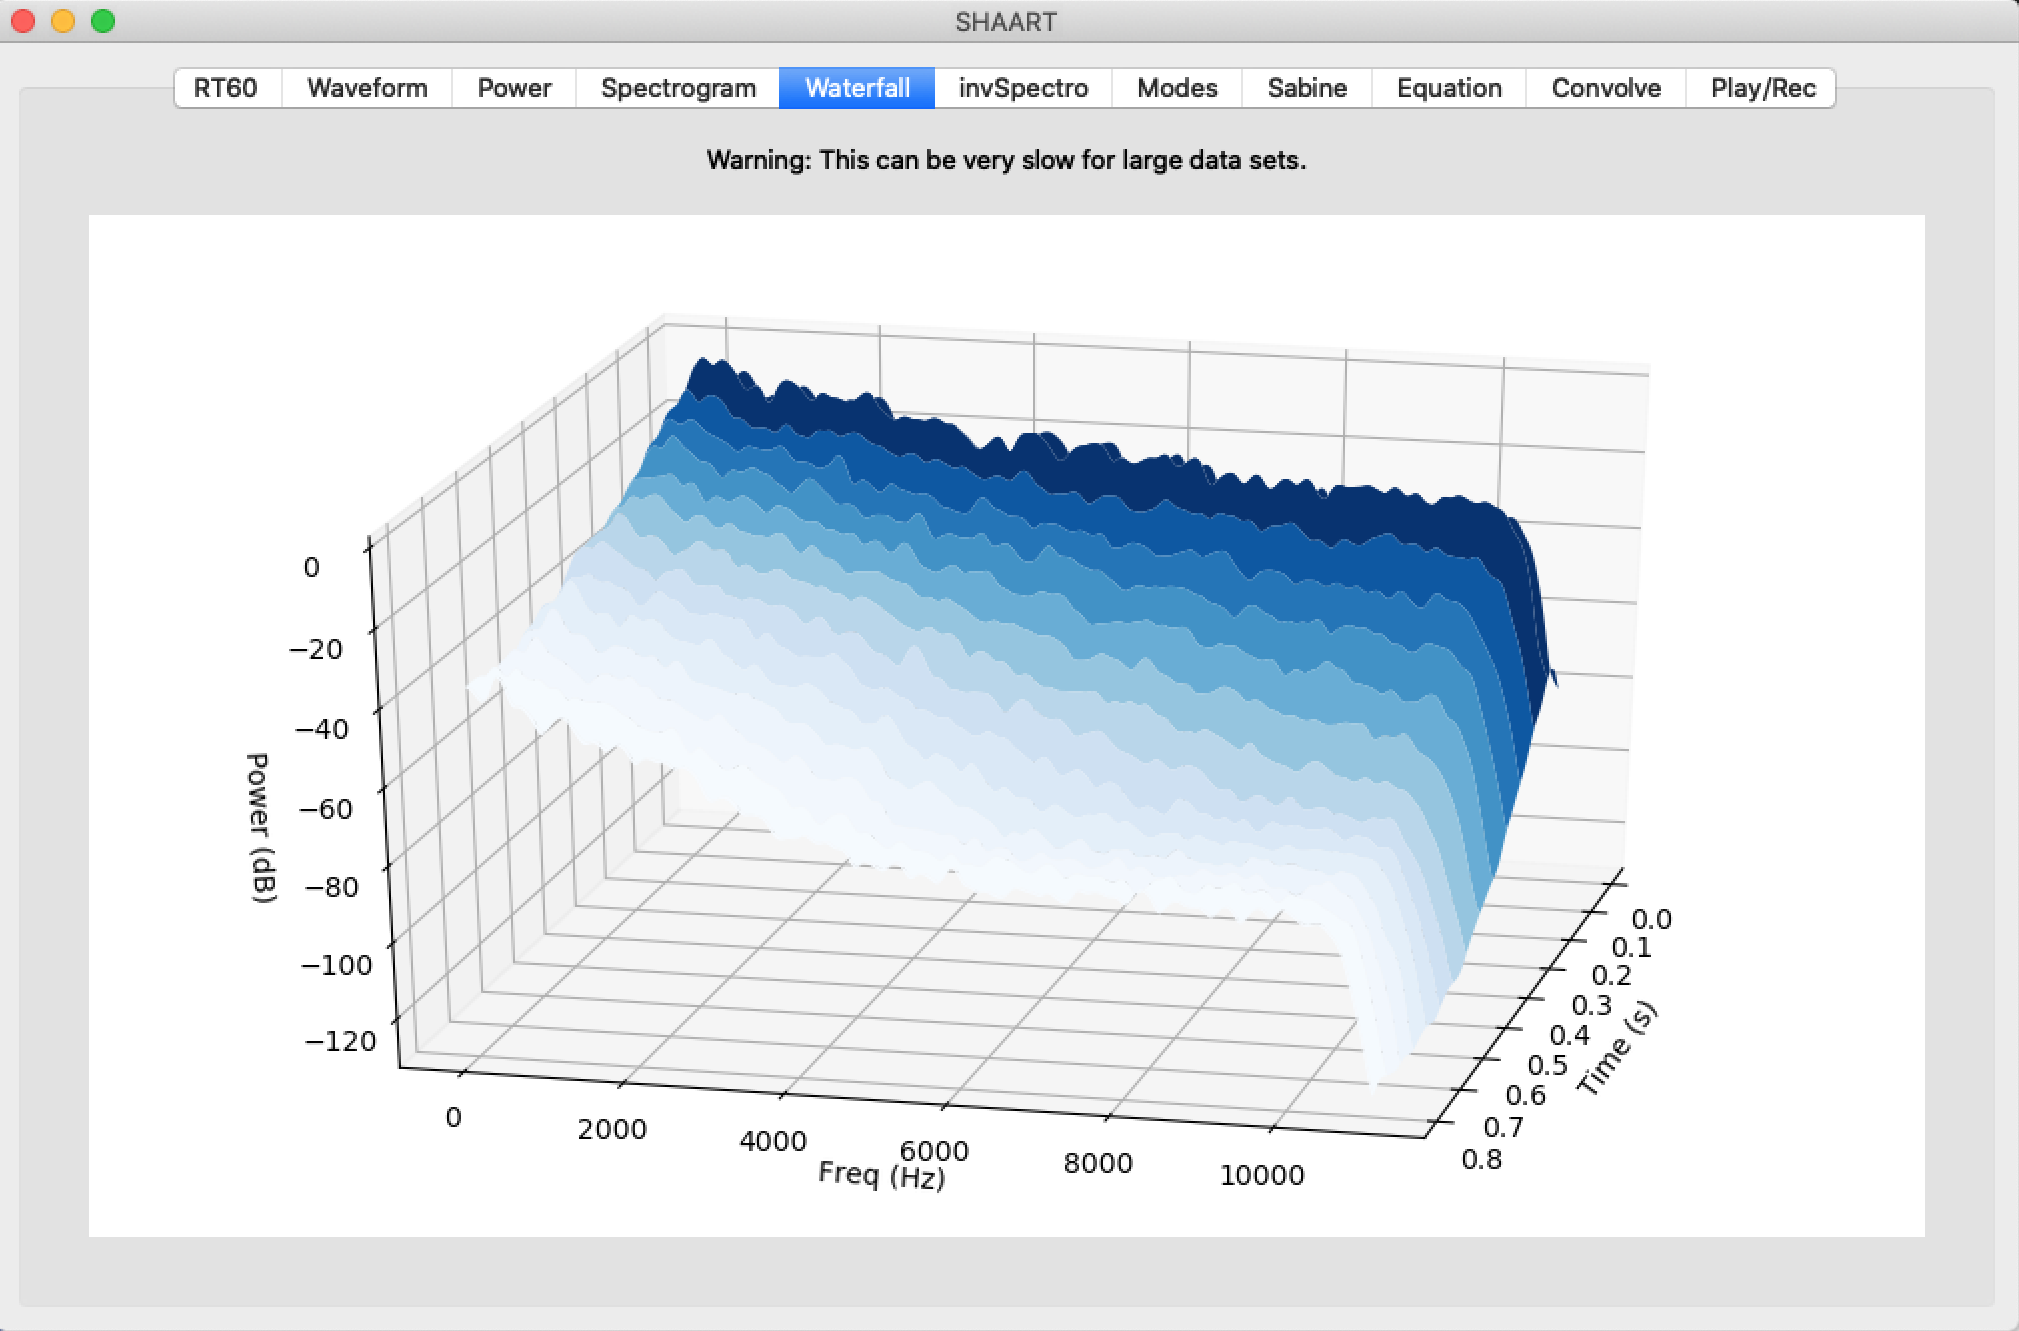
- Waterfall Plot: Alternative to Spectrogram, shows magnitude surface a function of time & frequency. No log freq scale yet. Only one file ("File A") shown.
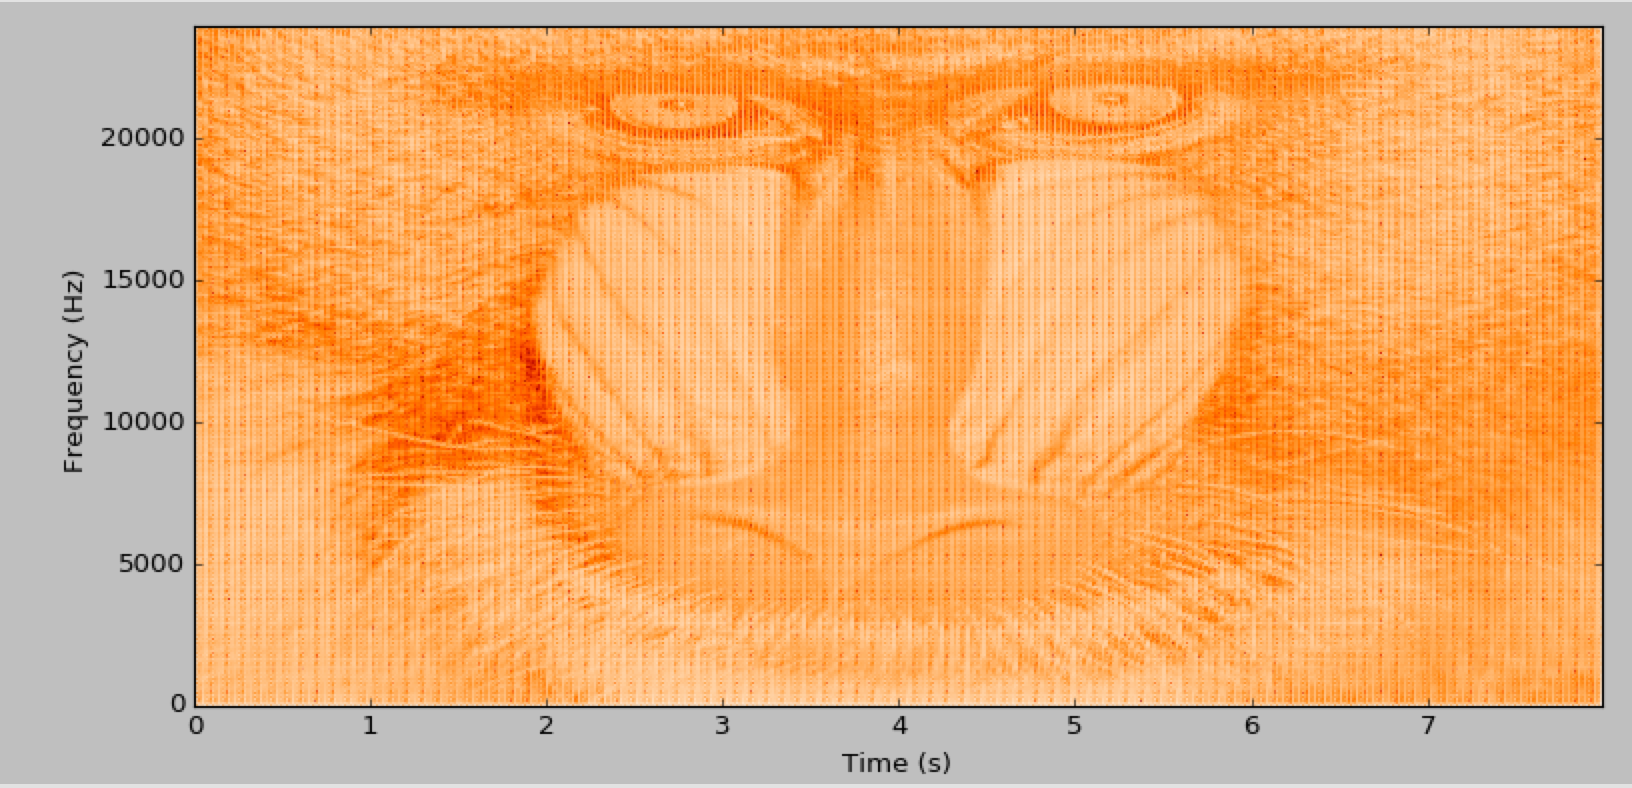
- "Inverse Spectrogram" (Image-To-Audio): Import an image, output audio for which the spectrogram will resemble that image. Sounds a little "phasey," could be cleaner. Useful for demonstrating audio effects. See "Screenshots," below.
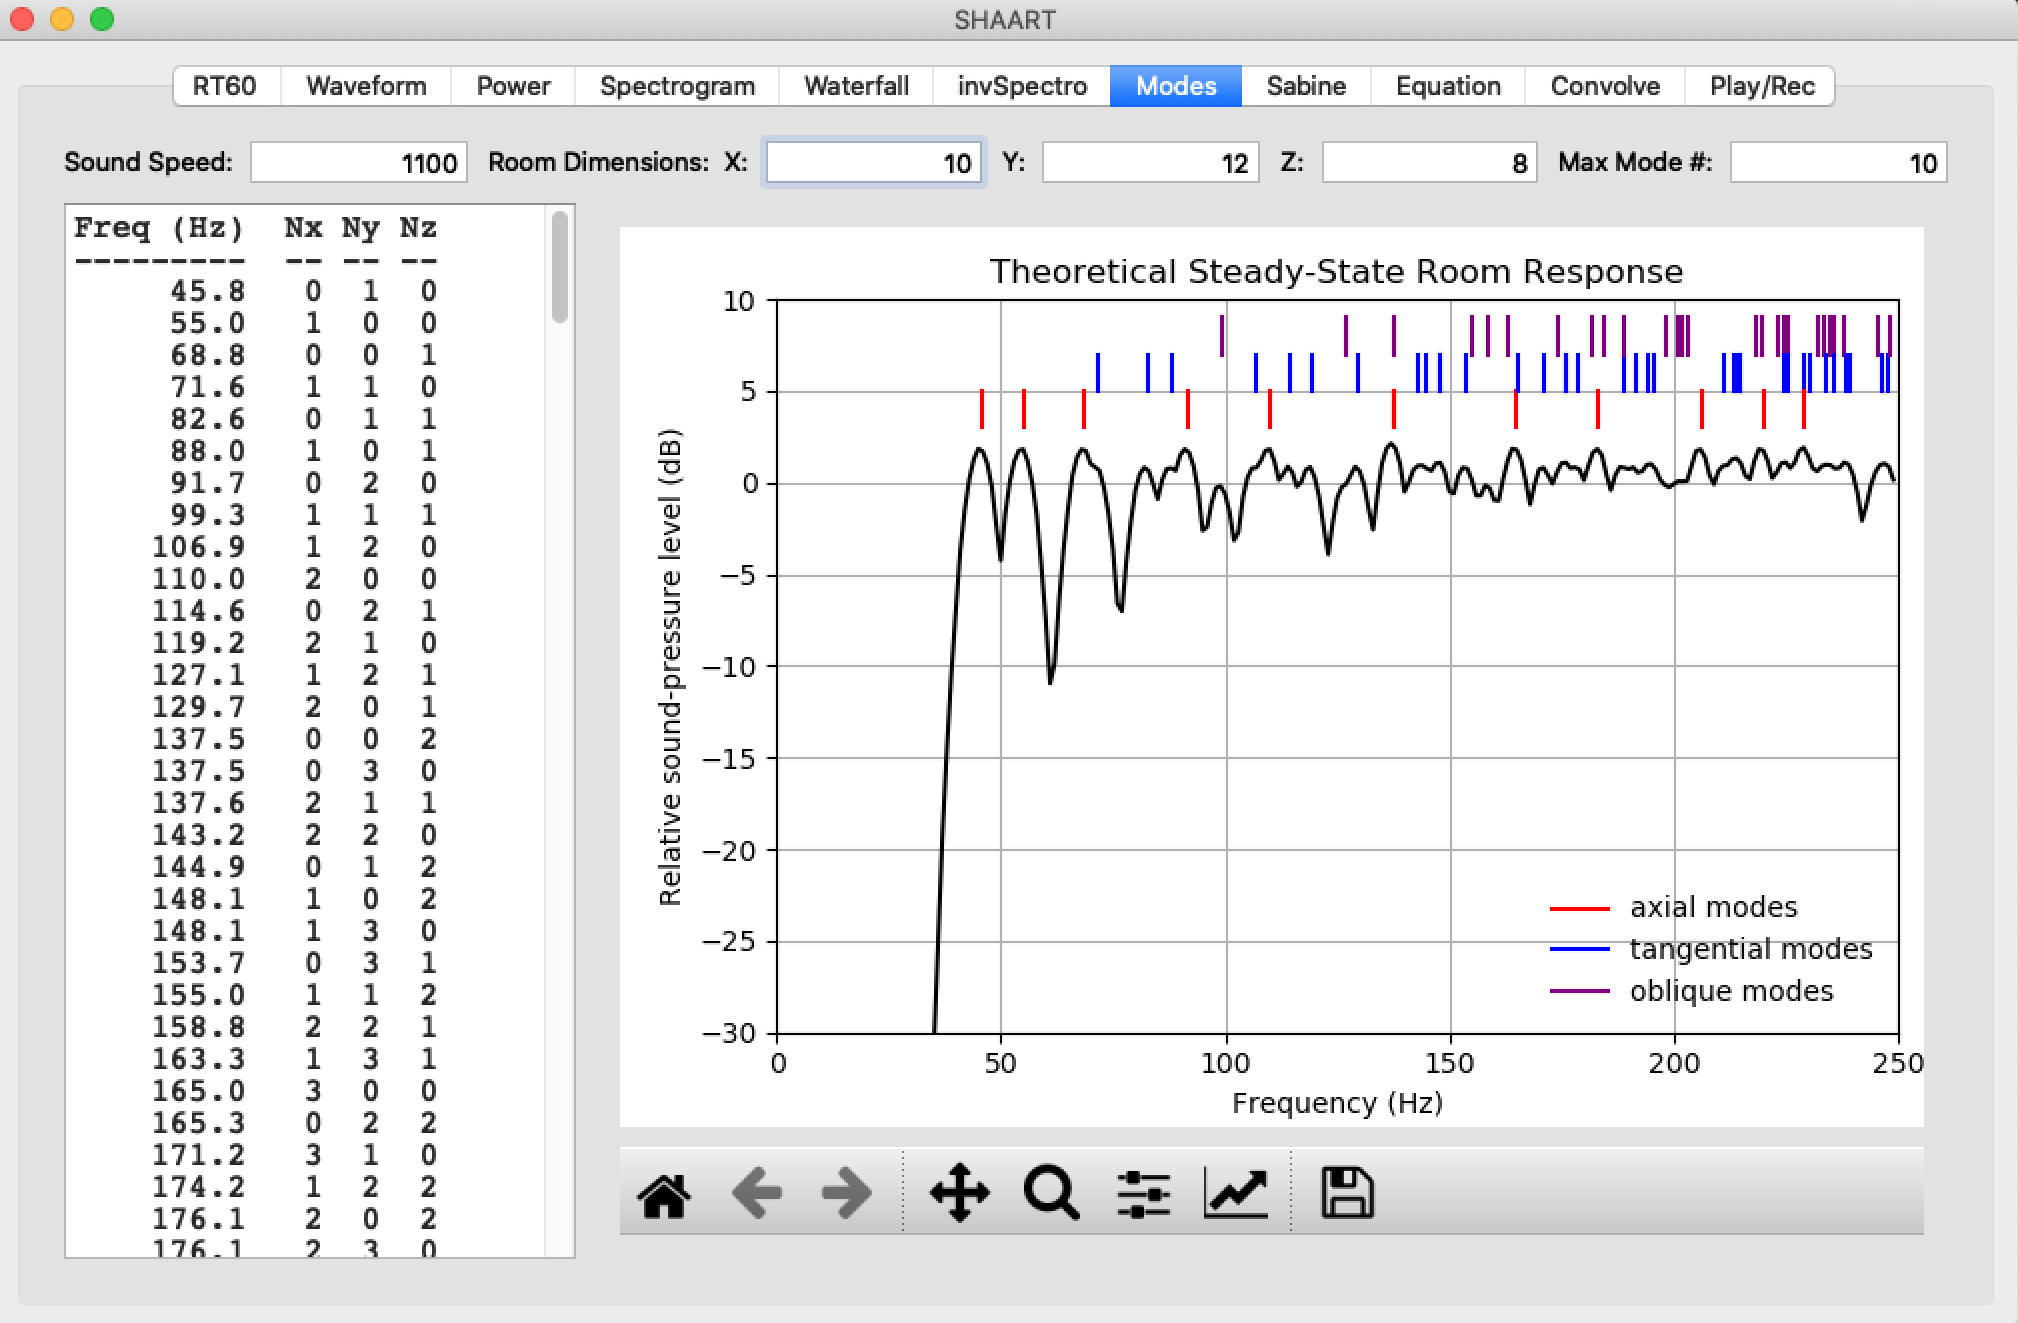
- Room Mode Calculator: Uses the Rayleigh equation for standing waves of a 3D box, and also plots a "Fake Room Response" by assigning relative amplitudes to axial, tangential, and oblique modes. Useful for demonstrating mode distributions for different room shapes.
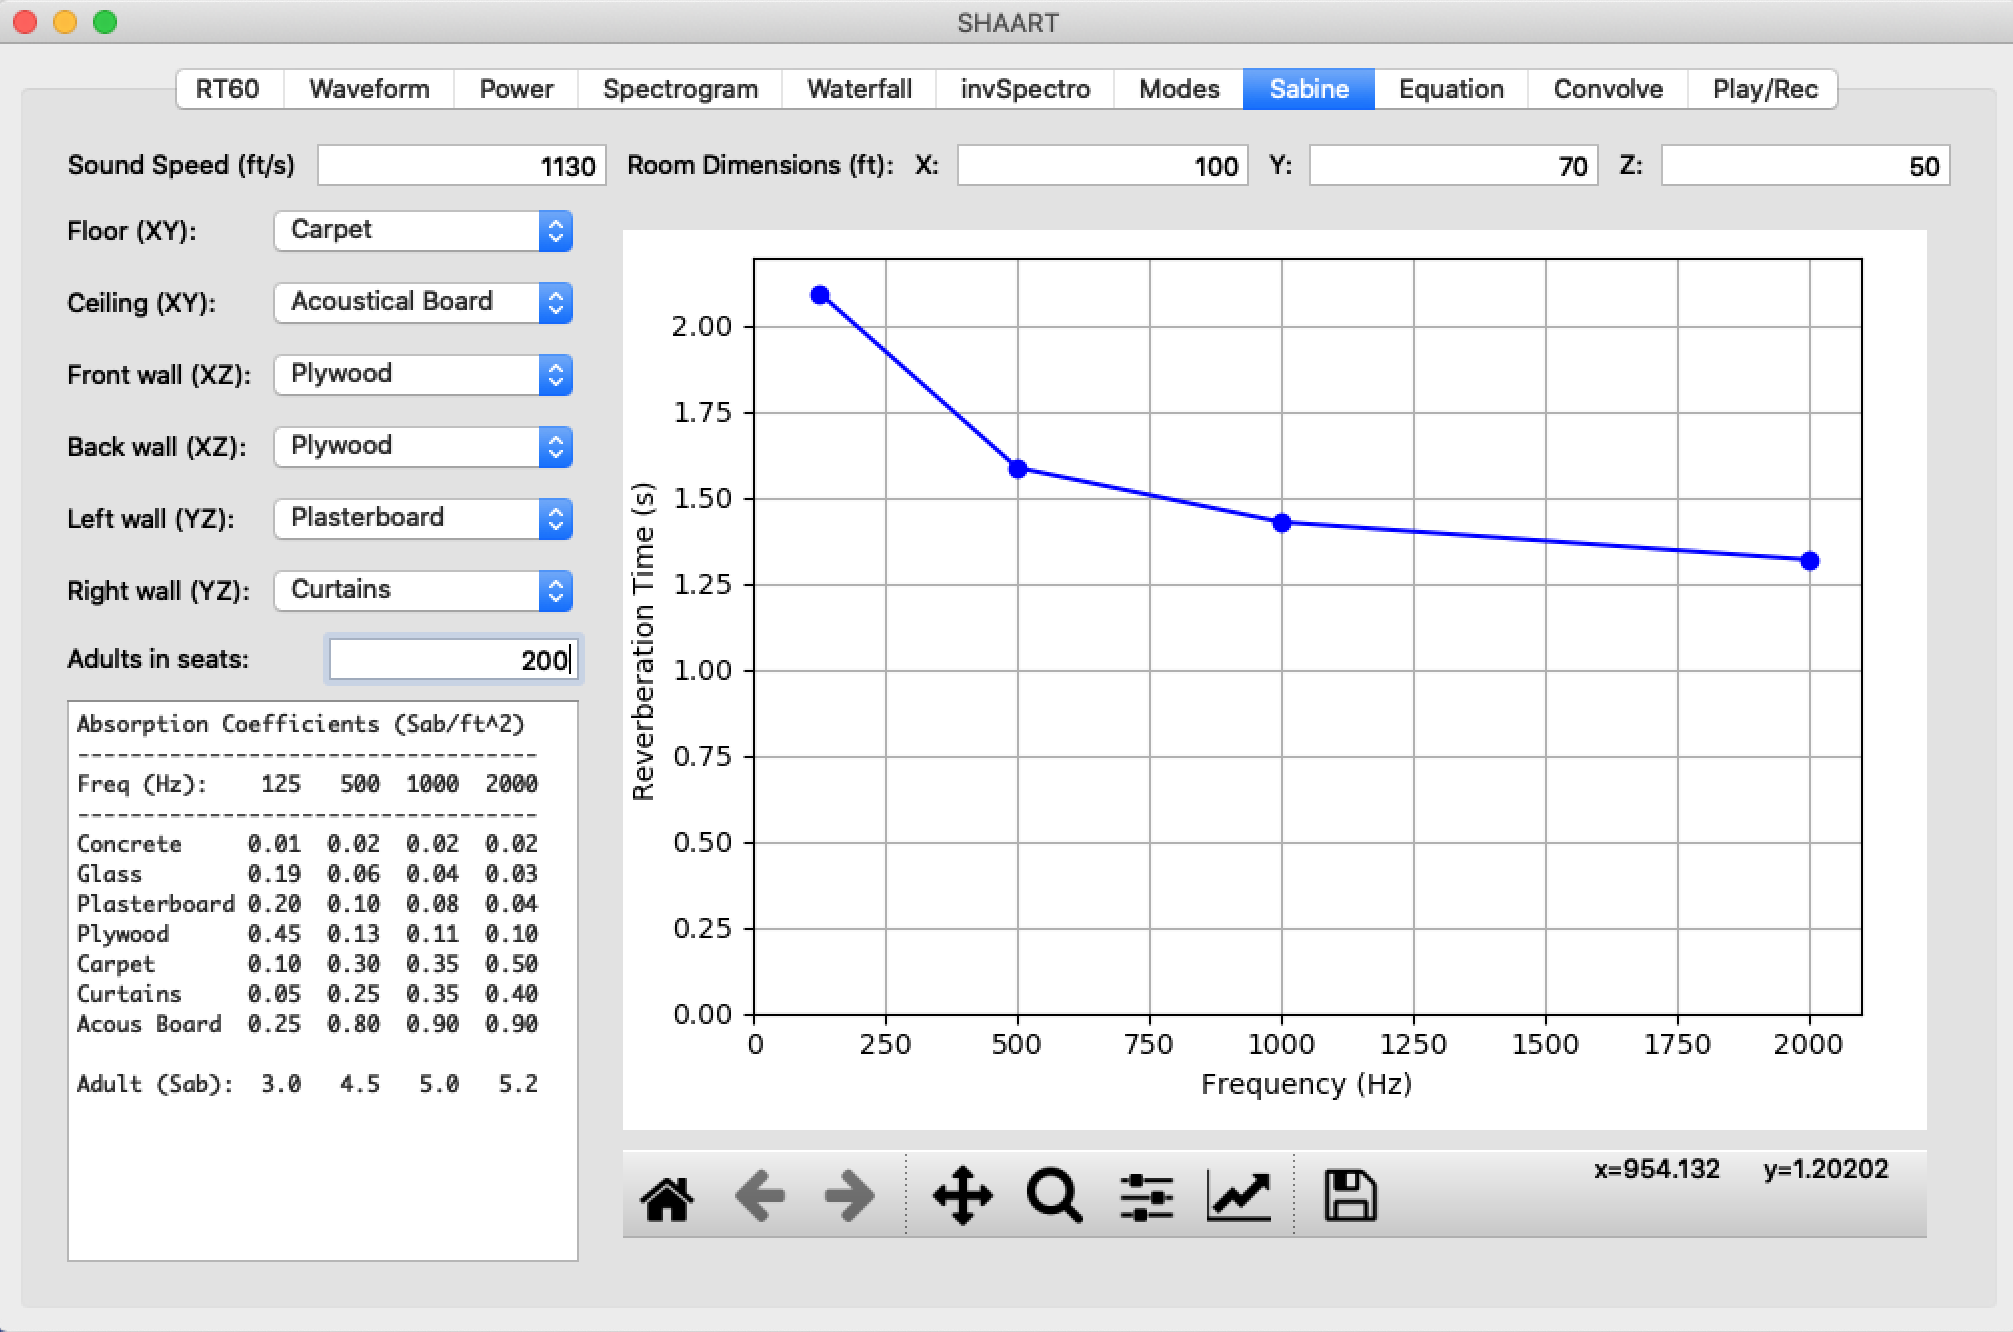
- Sabine Equation Calculator: Assumes a box-shaped room, lets you apply absorption to different surfaces. Based on Chapter 8 of Berg & Stork textbook, including their table for absorption coefficients.
- Equation-to-Audio: Specify a time-dependent function, and it'll generate audio from that. Useful for sine sweeps, e.g. for building impulse responses using Convolution (below)
- Convolution: Convolve File A with File B. Useful for making impulse responses from sine sweeps, or creating convolution reverb effects, or just for screwing around (e.g., convolving Led Zeppelin's "The Ocean" with the sound of a dog bark.)
- Play(/Record): Very rudimentary. Will play the audio out the speaker, with no controls. Record doesn't work yet.
Downloads
- Mac Binary application (new MacOS 10.15.4 version (337 MB)
- Windows executable (361 MB). Note that the Windows EXE takes a while to come up when you first run it.
- Linux executable (132 MB, Pop!_OS / Ubuntu). You can also run from source (below)
- Source code (GitHub) (in Python) See Running From Source below for further instructions.
- Sample WAV file
License
2013 - 2015: This software is both "Open Source" and "Free," released under the Jesus license: "Freely you have received, freely give" (Matthew 10:8). Do as you like. Modify, redistribute, etc.
2015+: GPL 2. See LICENSE.md file.
Tutorials
General Instructions: Go up to the "File" tab and select an audio file to analyze.
TODO: Add more here
Screenshots

The spectrogram and waterfall plot (below) only show File A:
Note: The following 'Theoretical Steady-Steate Room Response' is pretty fake; it's just a bunch of superimposed parabolae, but without it this pane had a bunch of empty space:<
br>
The values of absorption coefficients for the Sabine calculator come from the table in Chapter 8 of the Berg & Stork textbook:
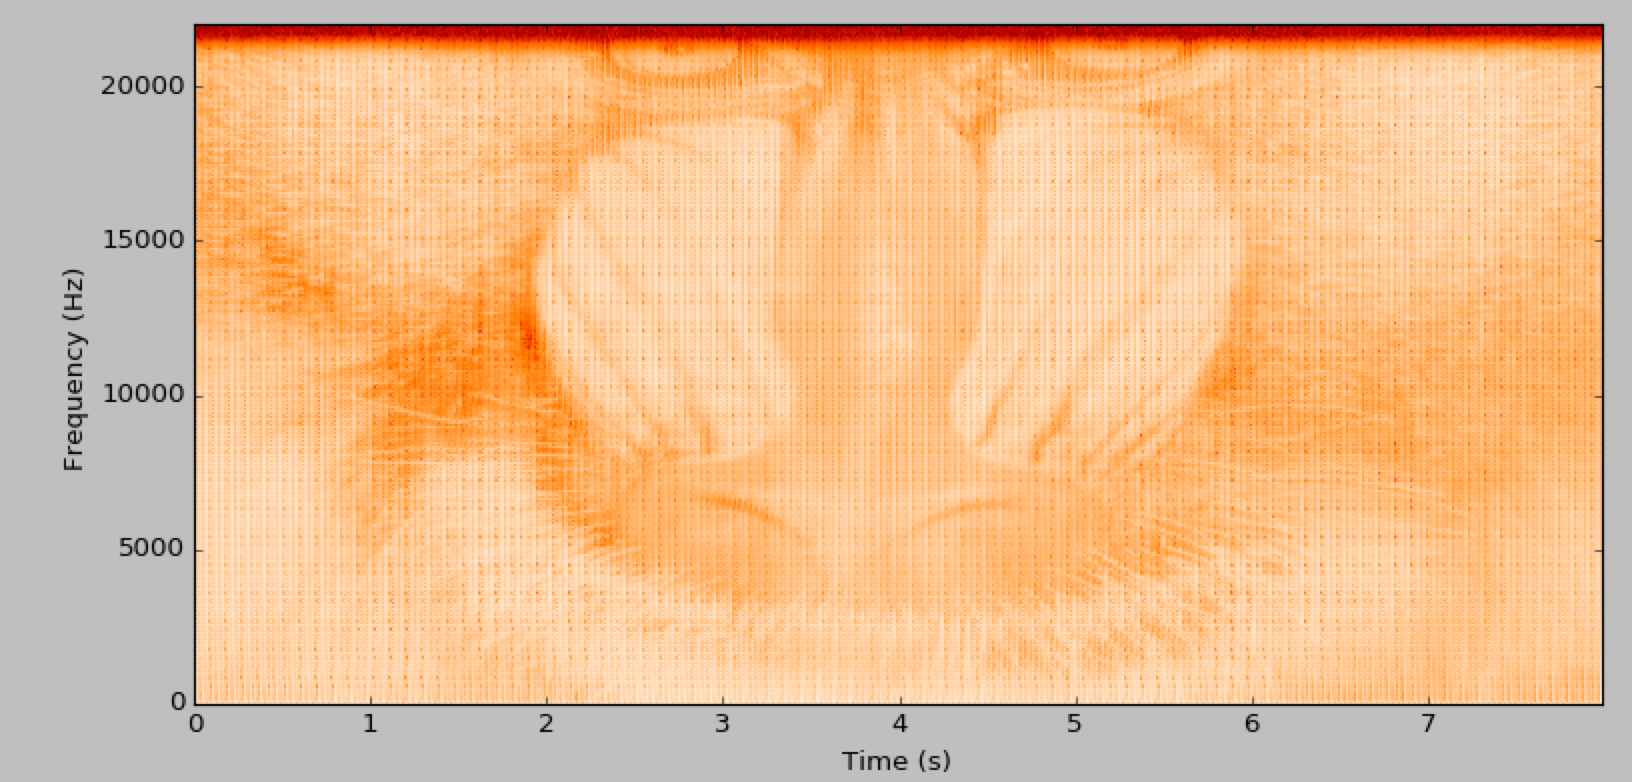
The "invSpectro" feature created the file mandrill.wav which has a spectrogram shown below:
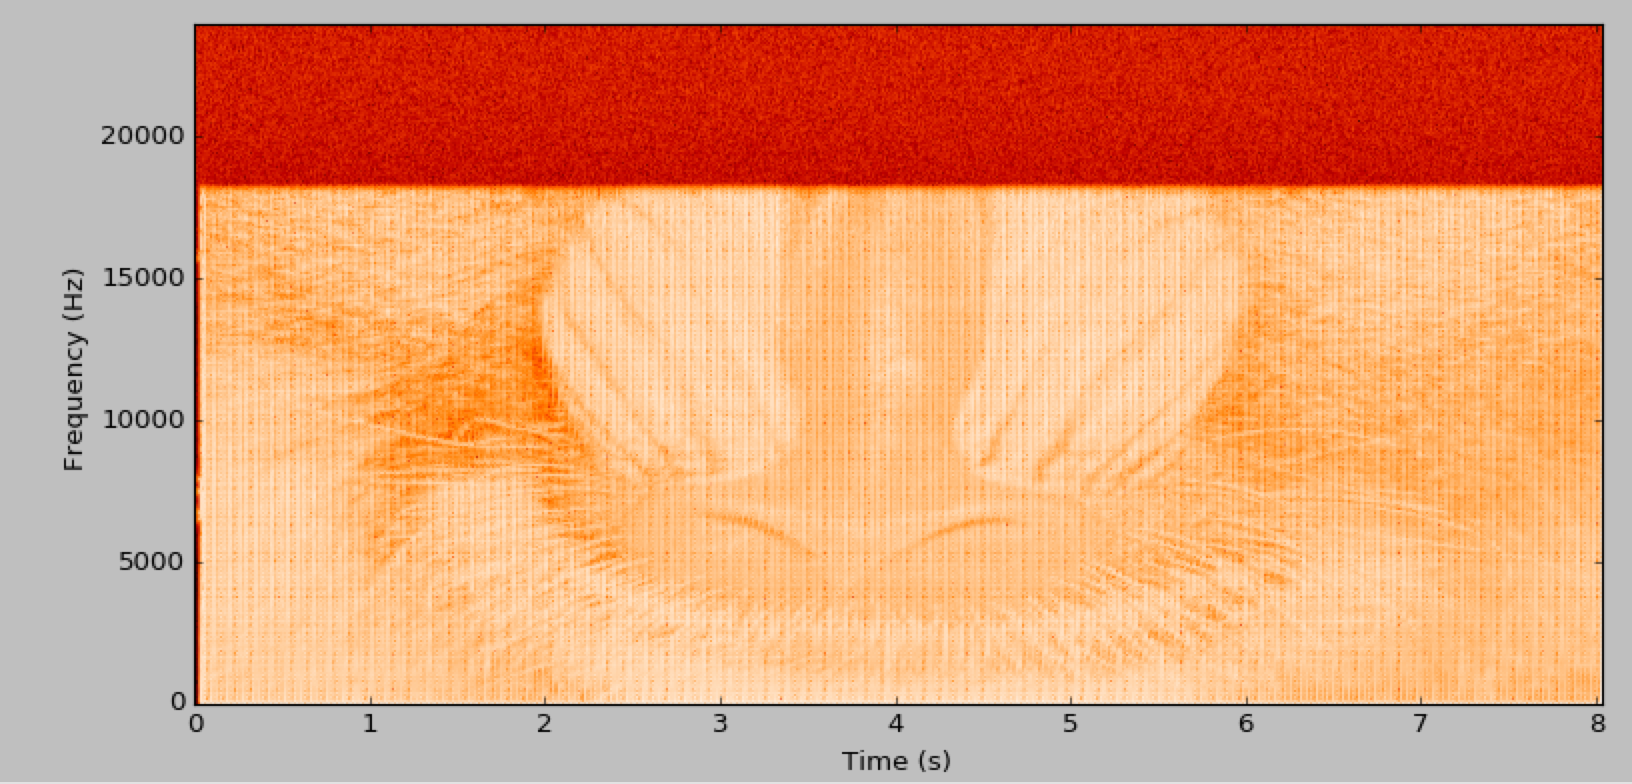
And interestingly, if the audio is encoded as an MP3, then re-read and re-written as a WAV, one can see the "lossyness" of the MP3:
One can also apply various audio effects to the sound and see the effect on the image, e.g. echo:
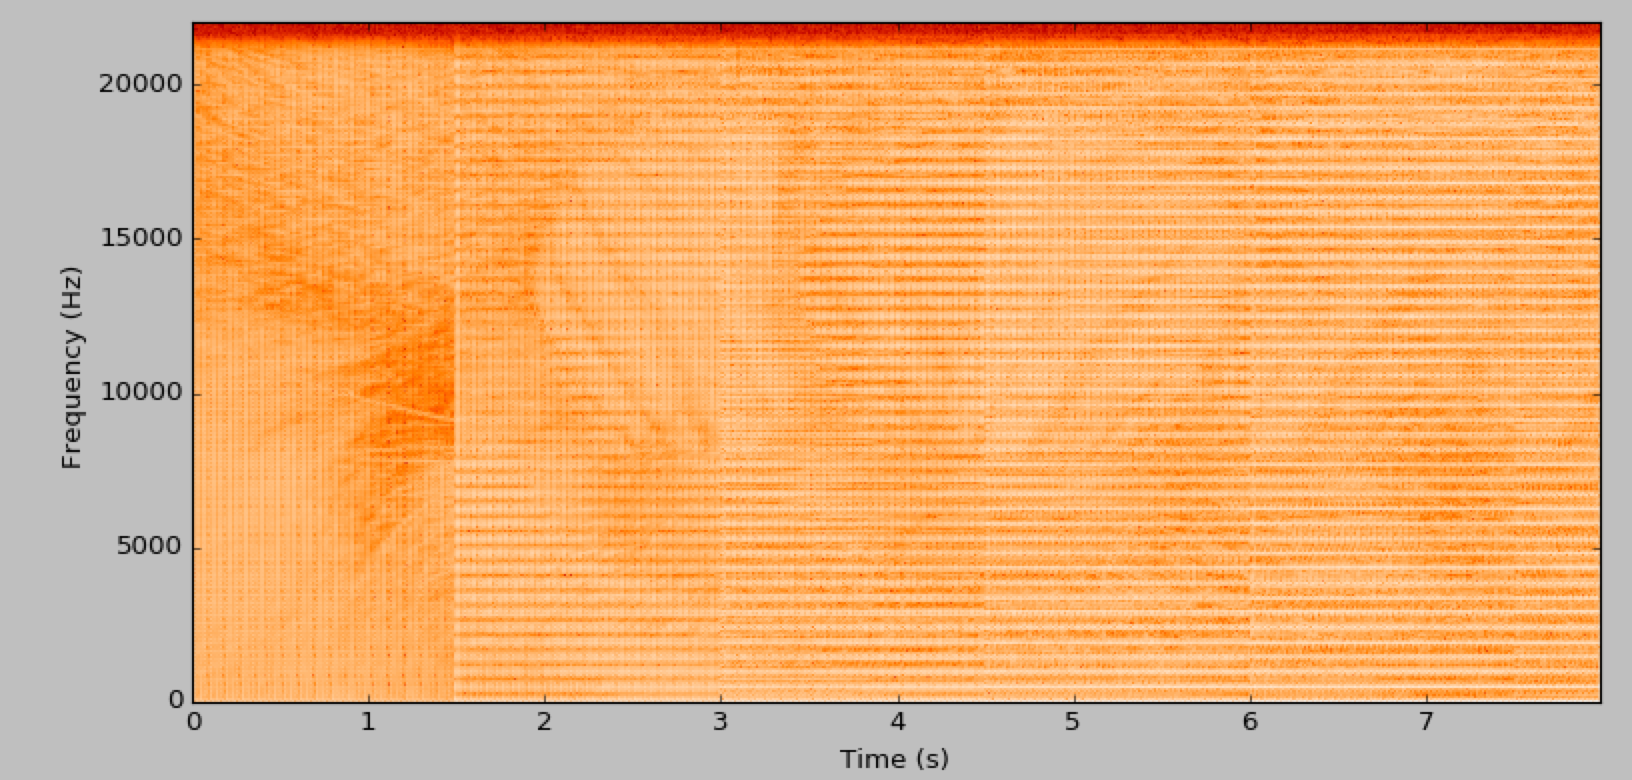
Wah-wah: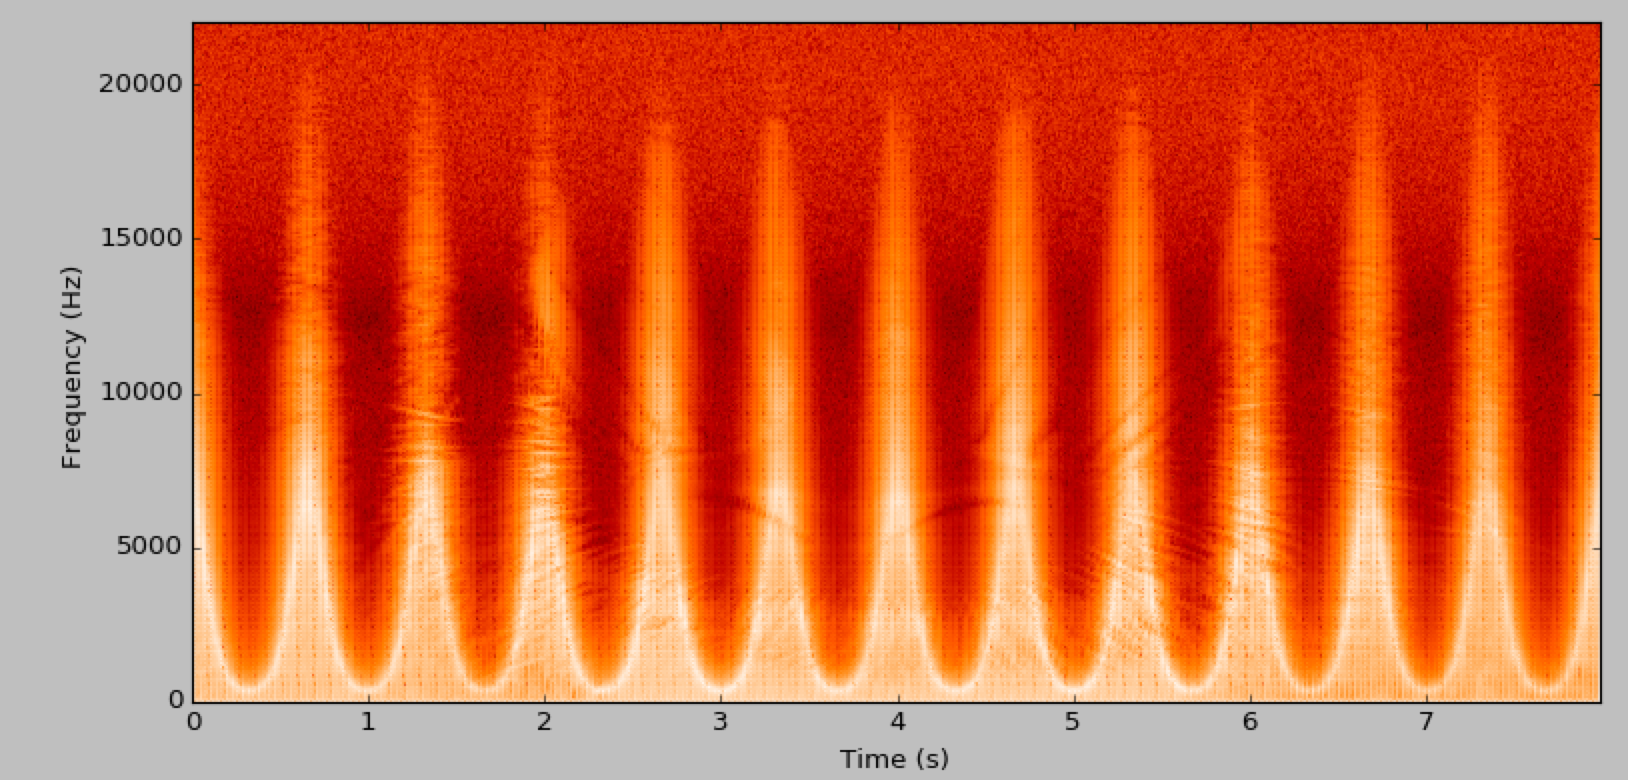
Reverb: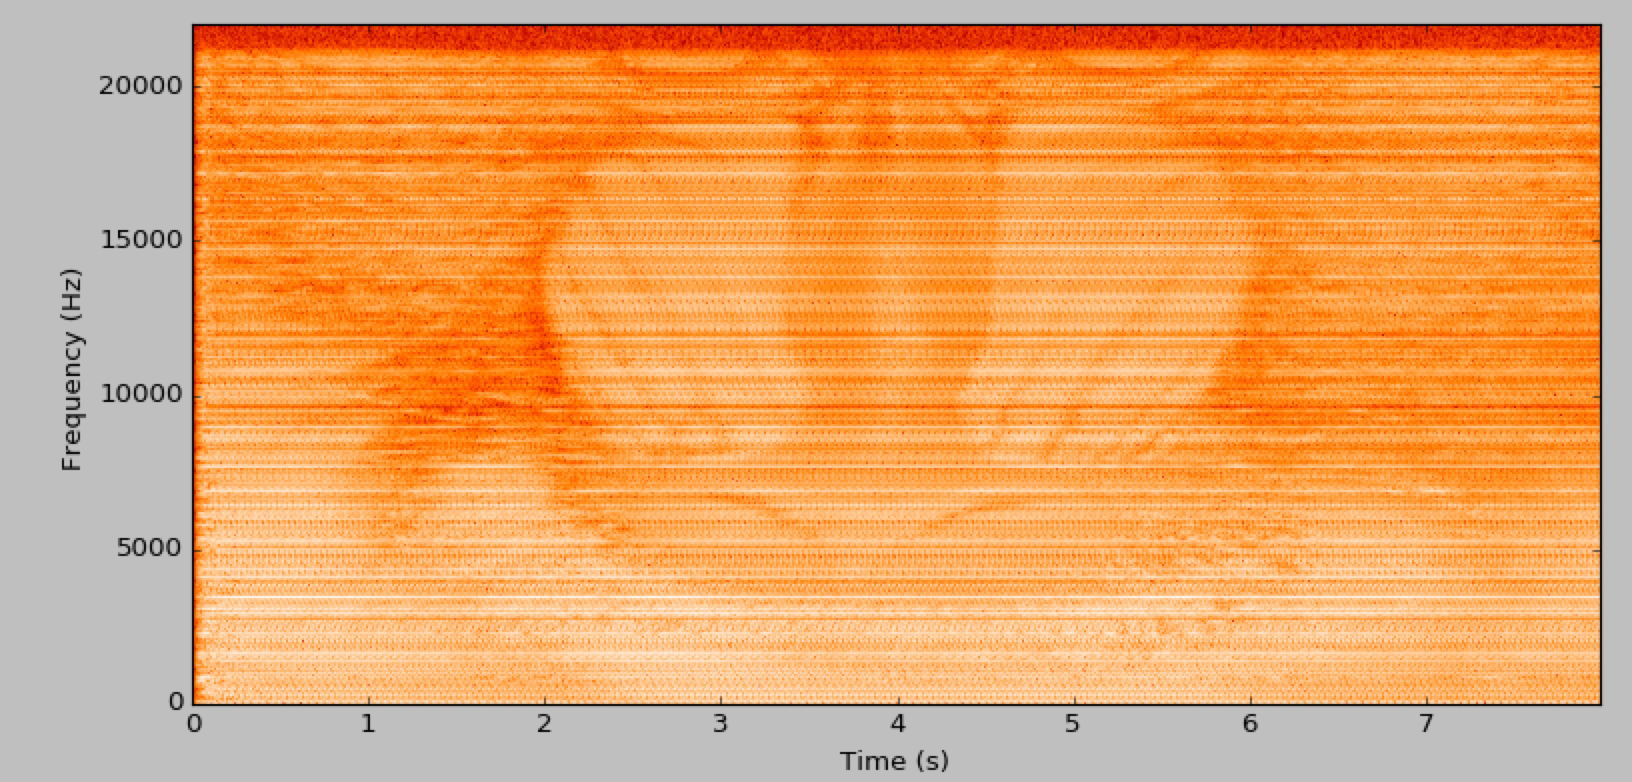
And here's an interesting one: a "leveler" effect:
Running from Source
Running SHAART.py from source:
Create a new Anaconda Python environment and install dependencies, then run...
cd SHAART/sourceconda create --name shaart python=3.7conda activate shaartconda install -c conda-forge librosa pyqt pillow pyaudio./SHAART.py
Building an Executable
First follow the instructions above for running from source. Then we will proceed by using pyinstaller, that will create a new directory called SHAART/source/dist/, in which a successful build will result in the presence of working binary executable.
xxxxxxxxxxconda install -c conda-forge pyinstallerAnd (because of conflicts) downgrade setuptools too, via pip:
xxxxxxxxxxpip install --upgrade 'setuptools<45.0.0'`Mac
In order to run from source, you'd already need to have XCode, the command-line tools, and HomeBrew installed. Then in we install python.app and an older versions of a few things to build the app:
xxxxxxxxxxconda install -c conda-forge python.app joblib=0.11 scikit-learn=0.21.3 librosa=0.6.1pyinstaller SHAART.spec --specpath=test...and you'll find SHAART.app in source/dist/.
Linux (Pop!_OS / Ubuntu)
We could re-use the .spec file from the Mac build, but it would give us a whole directory instead of one executable. Instead, run this line:
xxxxxxxxxxpyinstaller -w --icon=SHAART.icns --hidden-import="sklearn.utils._cython_blas" --hidden-import="sklearn.neighbors._typedefs" --hidden-import="sklearn.neighbors.quad_tree" --hidden-import="sklearn.tree._utils" --onefile SHAART.py...And then you can just run the dist/SHAART executable from the command line. (Note: I can't seem to get it to be a "clickable icon" in Nautilus/Gnome. Not sure how to do that.)
Windows
Here are the steps taken to build the Window EXE:
Download & Install Windows SDK: https://developer.microsoft.com/en-us/windows/downloads/windows-10-sdk/
Download & Install Anaconda (64 bit): https://www.anaconda.com/
Run Anaconda Powershell prompt and install requirements:
xxxxxxxxxxconda install -c conda-forge ffmpegconda install -c anaconda pyqt pywin32 pypiwin32conda install pyaudio librosa pywintypesDowngrade
setuptoolsto avoid conflictspyinstalleras per https://github.com/pypa/setuptools/issues/1963:pip install --upgrade 'setuptools<45.0.0'Run
pyinstallerwith these arguments:xxxxxxxxxxpyinstaller -w --icon=shaart_logo_icon.ico --hidden-import="pypiwin32" --hidden-import="pywintypes" --hidden-import="sklearn.utils._cython_blas" --hidden-import="sklearn.neighbors._typedefs" --hidden-import="sklearn.neighbors.quad_tree" --hidden-import="sklearn.tree._utils" --onefile SHAART.py
Changing the GUI
Run QT5's designer or Designer app (good luck finding this on your hard drive, btw; instead you might want to just download QT from the main site). Open ui_shaart.ui as an input file. Change the GUI as you like, save it, and then to generate the .py file, run
xxxxxxxxxxpyuic5 -x ui_shaart.ui -o ui_shaart.py
FAQ
- You do realize what the name "SHAART" sounds like...? See "About" above. thatsthejoke.jpg
- Can it only read WAV files? No. Despite saying WAV file everywhere, version 0.7 can read anything librosa can read, which is...pretty much anything, e.g. WAV, AIFF, M4A,...?
- Can I get a logarithmic frequency scale for the spectrogram? Not yet, but soon.
- For waterfall plots, it doesn't clear the window if you change the input data, resulting in multiple plots on the same page. Bug or feature?
- Does the "Record" feature work? Not yet. Use Audacity or....any other utility to record. ;-)
- How do I contribute to SHAART? Submit a Pull Request!
Release Notes / Issues
- v0.81:
- Fixed issue with PyQT6 checkboxes
- changed pyinstaller spec to "onefile" for stability -- result launches very slowly though
- v0.8: Updated to PyQT6
v0.7:
- Updated code from Python 2.7 to Python 3.7
- Updated GUI from Qt4 to Qt5
- Switched executable build from py2app to PyInstaller, added capability for Windows & Linux executable builds
- Re-ordered feature panes
v0.6: Minor improvements to speed and reliability
v0.5:
- Got its own App icon!
- "Power": Improved power spectrum calculation and display.
- "Equation": Added equation for inverse exp. sine sweep (with "depinking").
- Added IR creation tutorial (documentation)
More docs & info
Purpose: SHAART is intended as an in-house solution for teaching PHY2010 ("Physics for Audio Engineering Technology") at Belmont University. Perhaps others will find it useful as well. ...That and the PHY4410 ("Survey of Advanced Physics") students and I have been learing Python this semester to implement our simulations and analysis, so writing this also serves as an instructive exercise in Python programming.
Nomenclature: The name is an acronym using the author's initials (S.H.), along with words like "Acoustic," "Analysis," "Reverberation Time" or "Research Tools" -- as well as, it is hoped, a lighthearted and not-legally-problematic play on words with the name of the industry-standard SMAART audio analysis software made by Rational Acoustics, Inc. (SHAART is in no way affiliated with SMAART or Rational Acoustics, fyi.) ...I mean, "SHAART" is just hilarious to say.
Author: Dr. Scott H. Hawley, Associate Professor of Physics,
Belmont University, Nashville TN USA.
Date: March 28, 2025 (original March 24, 2013)
Contact: Improvements, bug reports, inquiries, donations, etc.: scott.hawley@(belmont)
Author: Scott Hawley